Using Google Adsense With Wordpress Google Adsense Approval Course
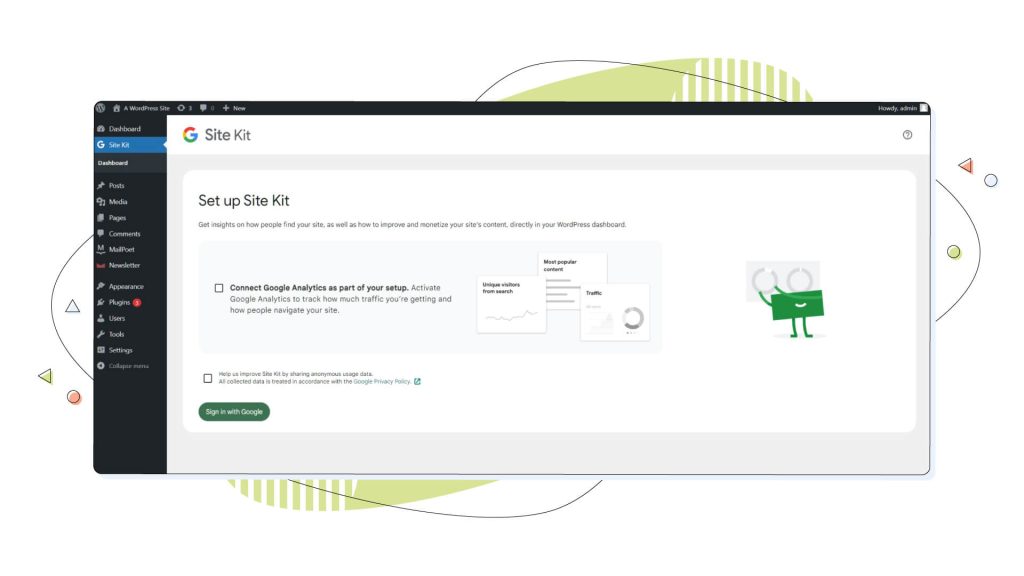
Learn AdSense online at your own pace. Start today and improve your skills. Join millions of learners from around the world already learning on Udemy. Go to your WordPress dashboard, and click Add New under the "Plugins" menu. Search for "Site Kit by Google", find the plugin and click Install Now. After you've installed the plugin, click Activate. Click Start Setup and then follow the steps to set up Site Kit. After you've completed the setup, click Connect Service under "AdSense".
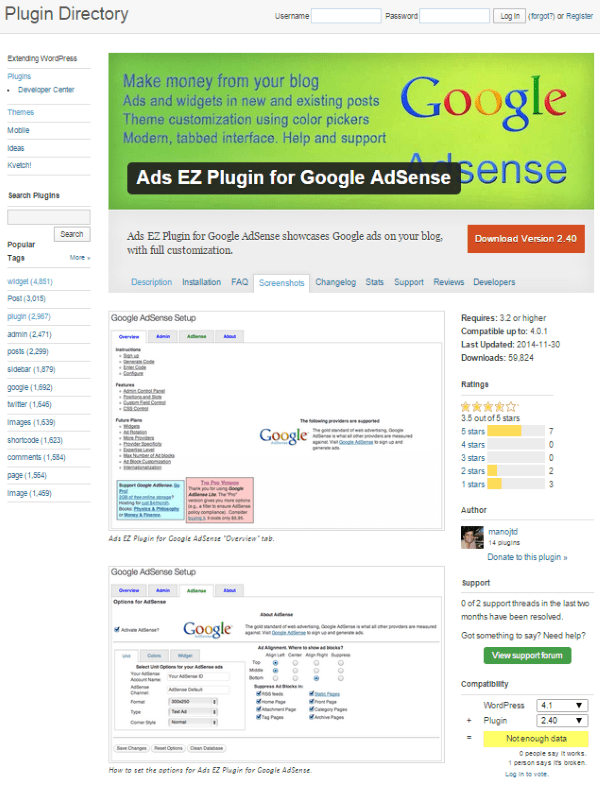
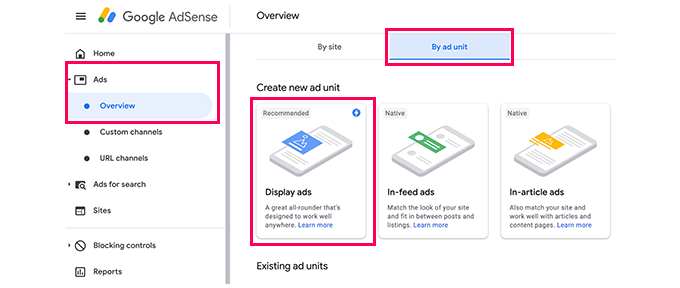
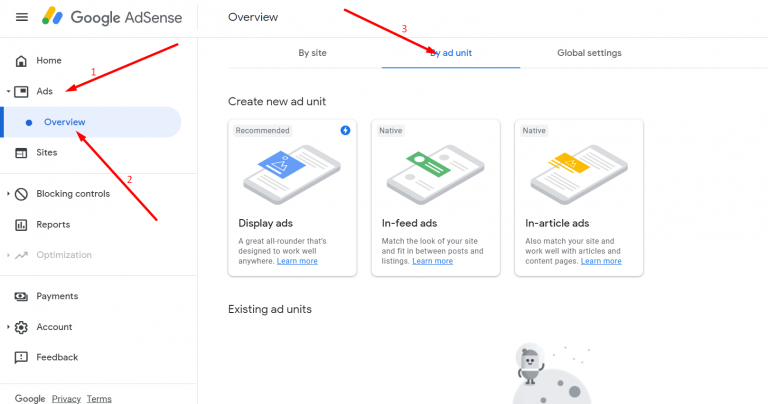
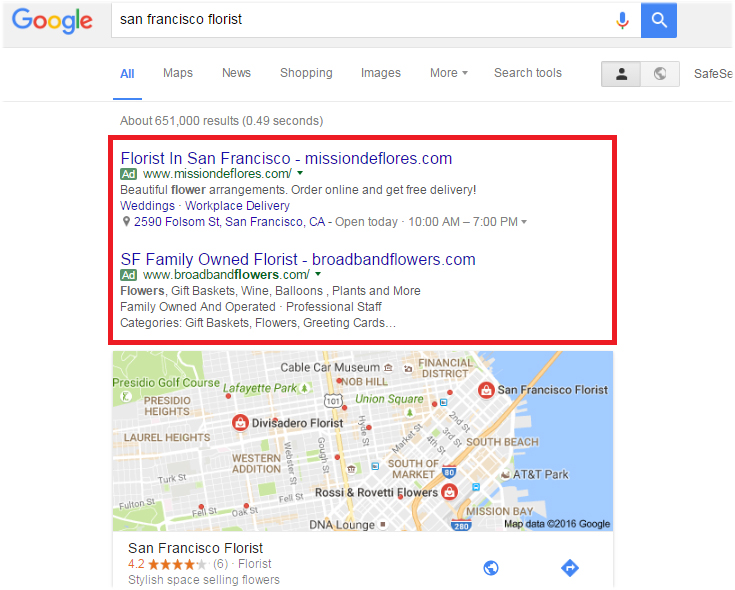
1. Manually Place Google AdSense Ad Code in WordPress. You'll start by clicking on the Ads menu in the left column and then switching to the 'By ad unit' tab. From here, you need to click on 'Create New Ad.'. You will be asked to choose an ad type. You can select from Display ads, In-feed ads, and In-article ads. Select the AdSense Ad radio button and click Next. The plugin will find the ad units you've created in Google AdSense. Select the one you want to work with and click the Next button. If the plugin doesn't find your ad unit, copy the code from AdSense and it will set the ad up. Add New Ad in Advanced Ads.
Related Posts of Using Google Adsense With Wordpress Google Adsense Approval Course :

Google AdSense

7 Easy Ways to Add Google AdSense to WordPress

Apa Itu Google Adsense dan Cara Daftar Google Adsense dengan Mudah
How To Monetize Your WordPress Website Using Google Adsense Elegant
Acerca de los anuncios multiplex Ayuda de Google AdSense
How to Properly Add Google AdSense to Your WordPress Site
42+ Images of Using Google Adsense With Wordpress Google Adsense Approval Course
Step 2: Connect your WordPress website to Google AdSense. The next step is connecting your WordPress website to your Google AdSense account. In the console's left-hand menu, select Sites: Then click on Add Site. In the subsequent popup, enter your website's URL: Next, click on Save and continue.
In your WordPress site's dashboard, go to Advanced Ads → Settings. In the plugin's admin section, click the Adsense tab. On the next page, click Connect To Adsense to start the process of connecting your Adsense account to your WordPress site. Choose the relevant Google account to connect with your WordPress site.
Tips for Getting Started with Google Adsense. Image Source. Here are some beginner-friendly tips to help you make the most of using Google AdSense on your WordPress site: 1. Quality content is key. I know you want to run ads. However, before you even consider making money from advertising, you need to make sure you have valuable content.
To add the AdSense code to your WordPress website without using a plugin, follow these steps: Step 1: Get the AdSense Code. Log in to your AdSense Account. Click Ads. Click The Get Code button. Click Copy code snippet. Step 2: Add Code To WordPress.
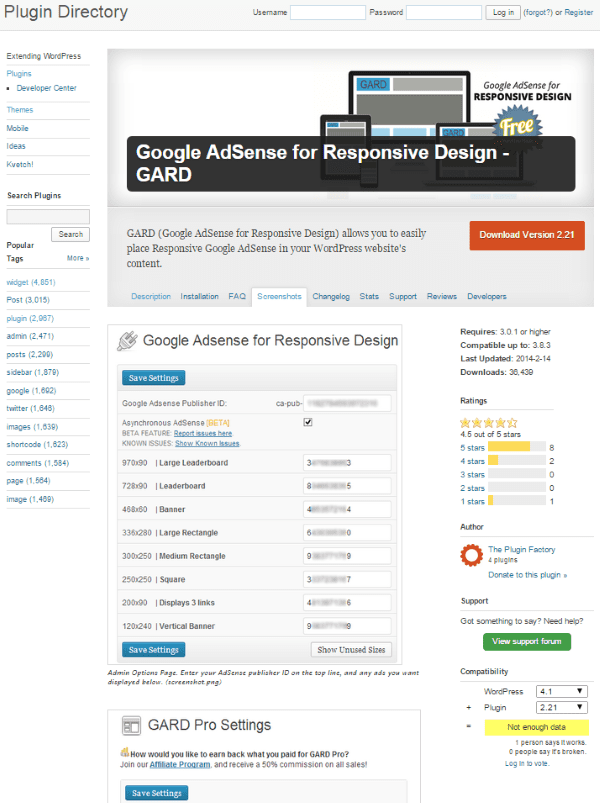
3 Ways to Insert AdSense Ads Into WordPress . Now, we can explore the three ways you can insert the AdSense ads into WordPress. 1. Use an AdSense Plugin. The first method we'll discuss is using a plugin to set up and configure AdSense for use on your WordPress site.
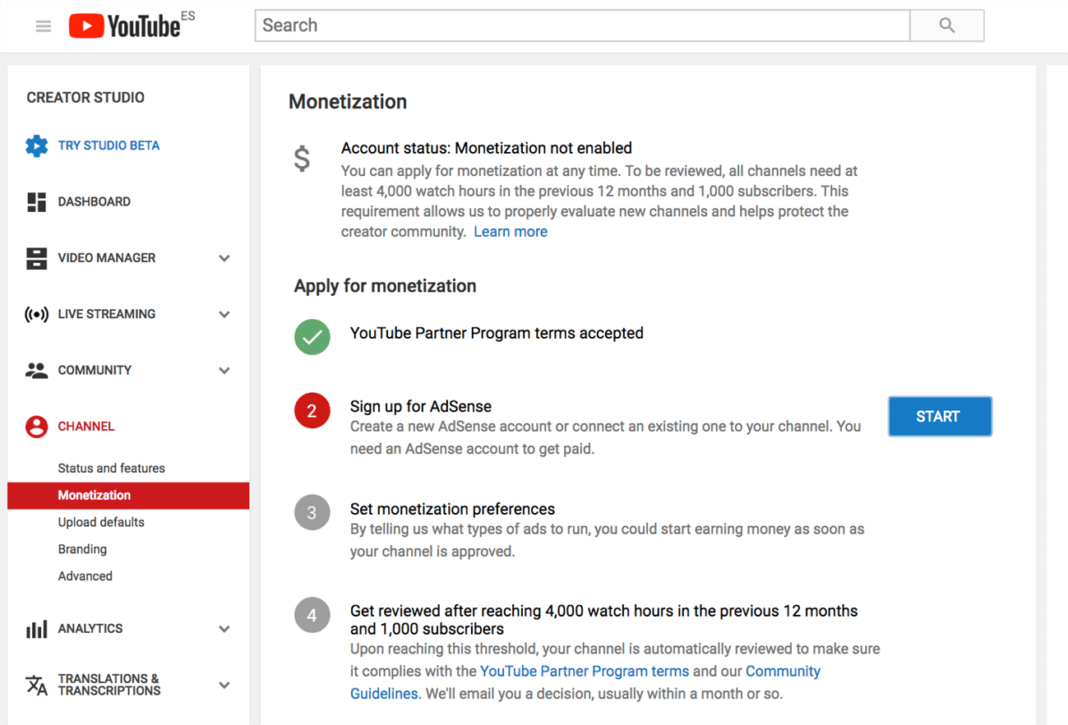
3.Integrating AdSense with Site Kit (In 5 Steps) 3.1.Step 1: Create an AdSense Account. 3.2.Step 2: Set Up Site Kit. 3.3.Step 3: Apply and Activate Your Account. 3.4.Step 4: Review the AdSense Documentation. 3.5.Step 5: Place Ads on Your WordPress site. 4.Determine Placement on Your Site.
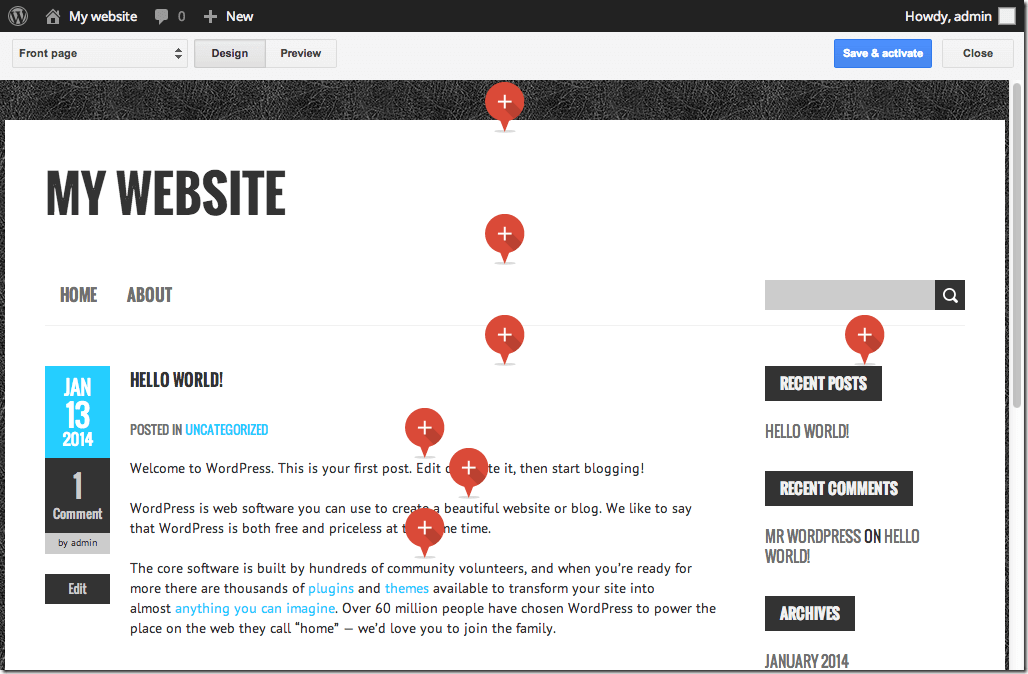
Text Widgets. A Text Widget allows you to add ad units into your WordPress site, in the predefined spaces and locations available from your site's theme. For more information on Text Widgets and how to use them, see the official WordPress.org documentation. Note: You might not be able to implement some ad formats through Text Widgets.
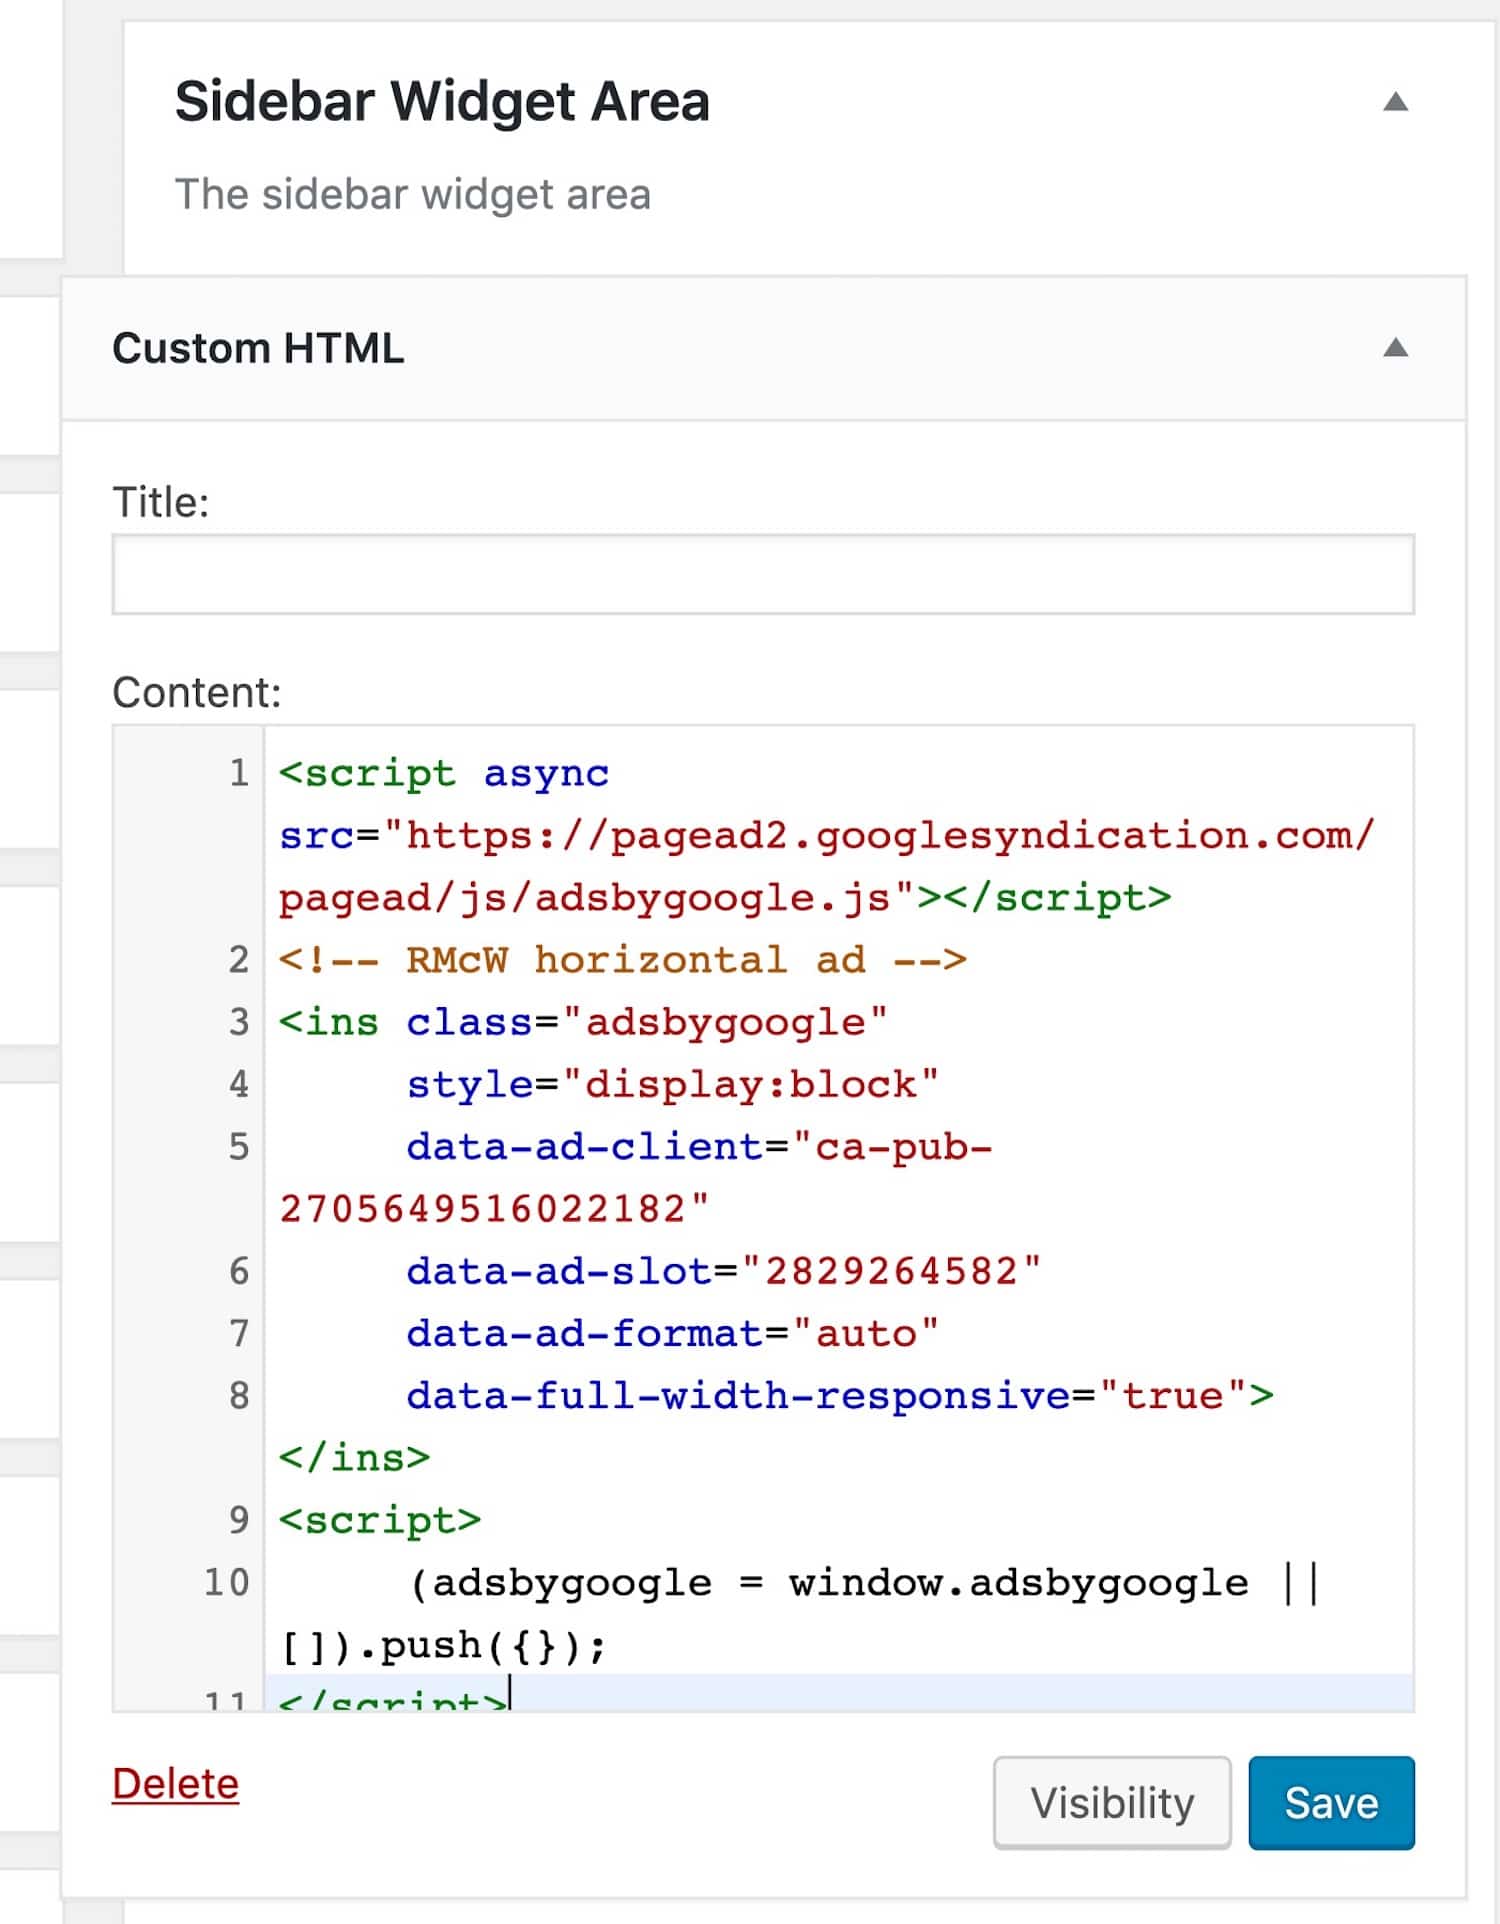
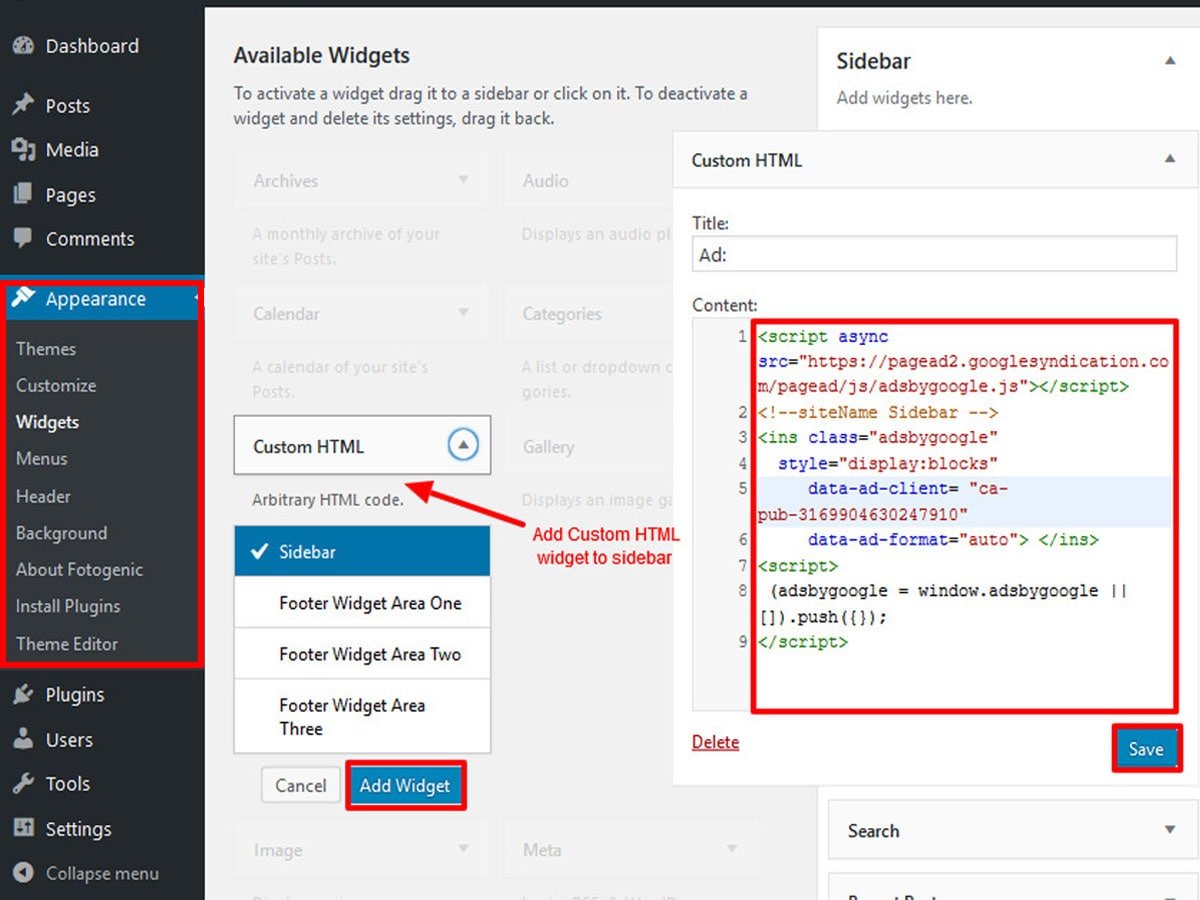
Method 1: Copy & Paste Your Google Adsense Code into a Widget. The first method is good old copy and paste. The code revealed in the previous section is used for copying into your website, so s tart by copying that code from AdSense. Next open your WordPress dashboard. Go to Appearance > Widgets.
Go to Settings > Insert Headers and Footers menu. Paste the Google AdSense verification code into the Headers section. Save the changes: 8. Return to your Google AdSense account, check the box to confirm that you pasted the code and click Done: 9. Wait for Google to review your entire site and activate your account.
Go to Settings > Account > Account information and copy your AdSense Publisher ID. Login to your WordPress admin dashboard and go to Settings > Easy Google AdSense. Paste your AdSense Publisher ID into the Publisher ID field. Click Save Changes. Go back to your Google AdSense account dashboard and navigate to My ads > Content > Auto ads.
Go to your WordPress dashboard, and click Add New under the 'Plugins' menu. Search for 'Site Kit by Google', find the plug-in and click Install Now. After you've installed the plug-in, click Activate. Click Start Setup then follow the steps to set up Site Kit. After you've completed the setup, click Connect Service under 'AdSense'.
To manually place your Google AdSense code in your header, go to Appearance > Editor and select Header ( header.php ). Now look for </header> in your header file. Place your AdSense code either above or below </header>. Next select Update file and you should have an AdSense ad in your header.
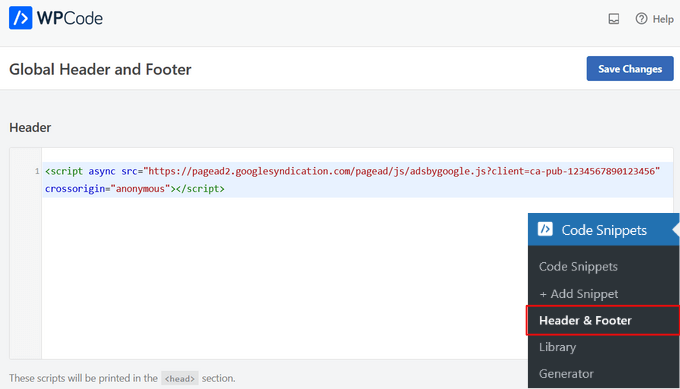
Head to your WordPress dashboard and click Plugins » Add new. Now, search for WPCode, then click Install Now: When it's done installing, click Activate: Once it's activated, navigate to Code Snippets » Header & Footer: Now you're ready to paste your AdSense code into the Header box! Let's move on to setting up AdSense.
When you are adding Adsense ads to WordPress, all you need to do is copy the code that Google provides for each ad and paste them into the appropriate areas. For example, you can place them into the Advanced Ads Gutenberg block. You can use this to give yourself more control over where that ad will appear. 5. AdRotate.
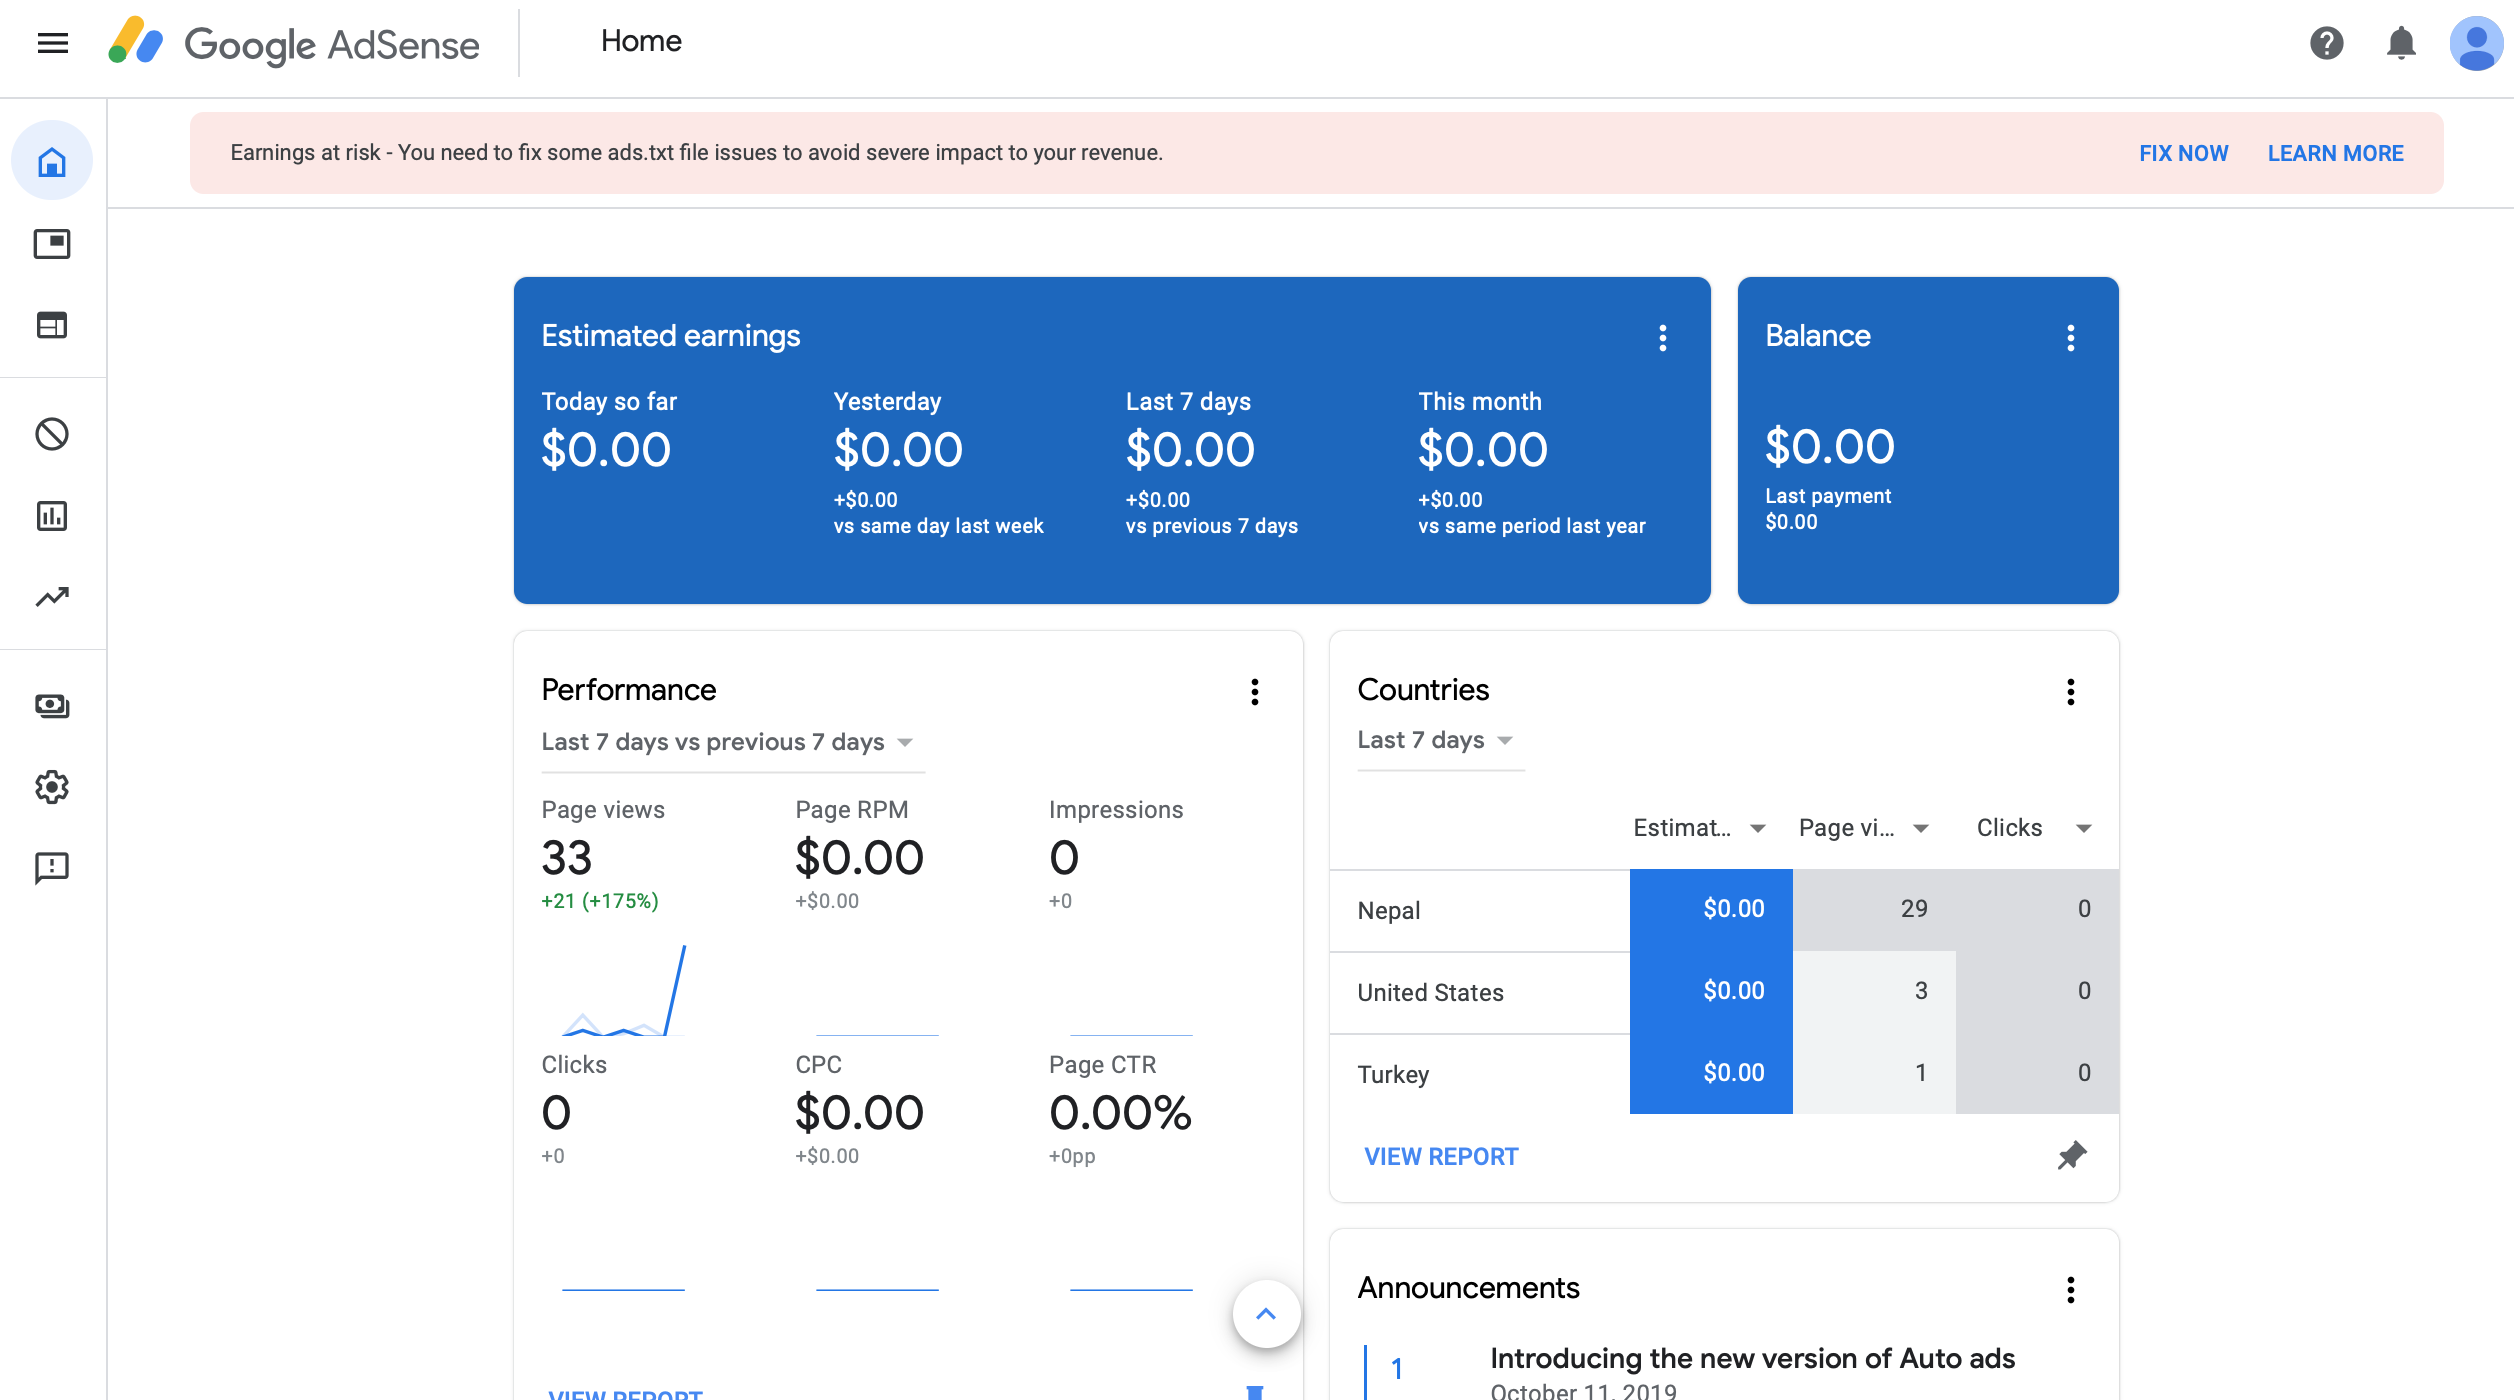
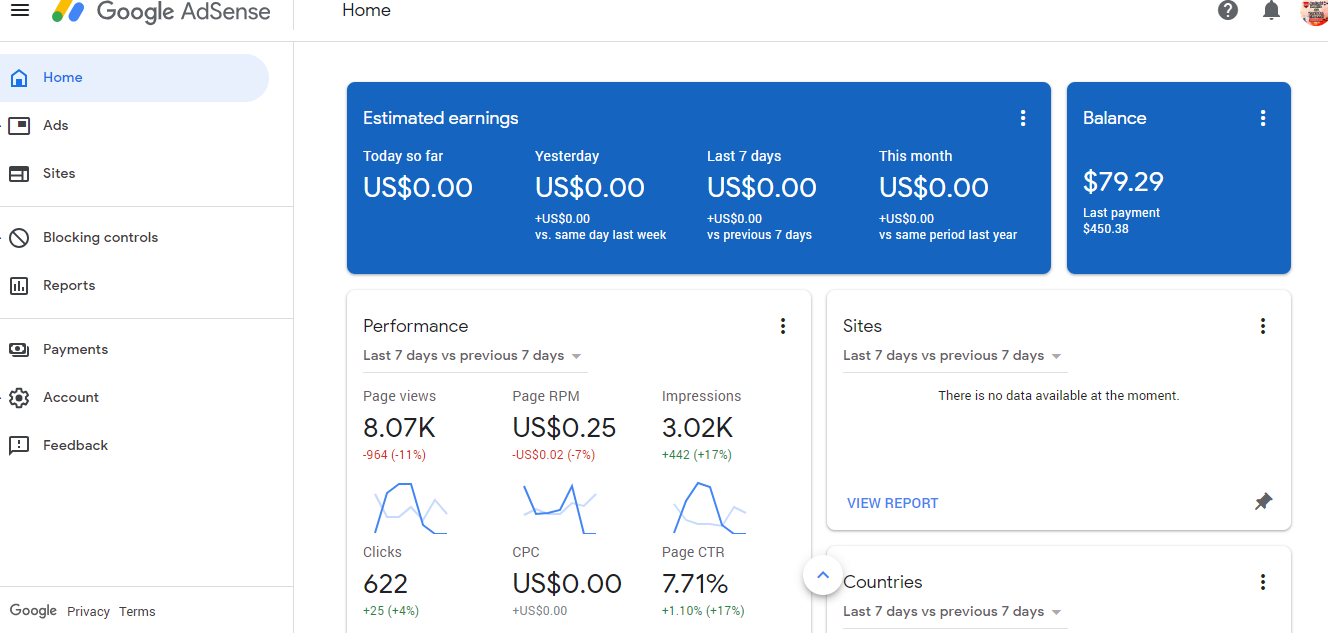
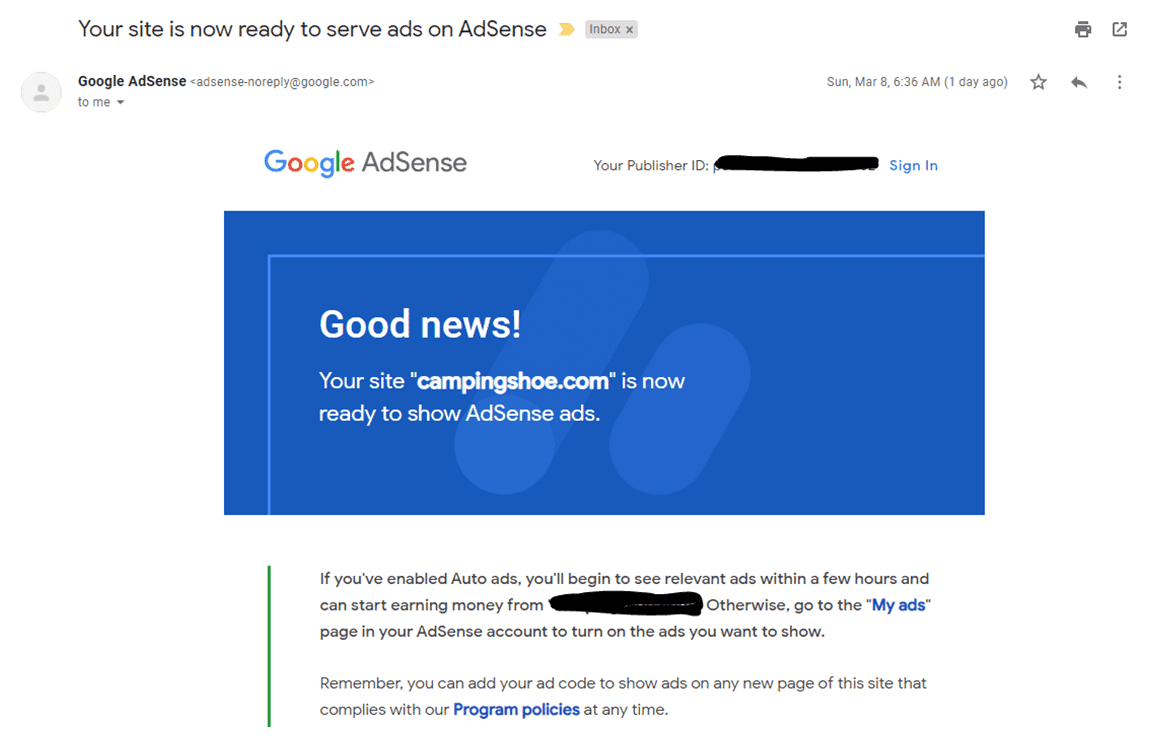
Once your account is reviewed and finally activated, you'll receive a confirmation email. That's the point where you can start with ad units: First, access your Google Adsense dashboard and go to the left side bar to click on My Ads. Go to Content -> Ad units and select New ad unit. You have different ad types.
An AdSense account is required to use the AdSense platform and is where you can manage your overall account settings. An AdSense account must be associated with your Google account. AdSense policies only allow one account per publisher. An AdSense site refers to a website where you wish to serve AdSense ads. Multiple sites can be added to an.
Hello @bgs28244. Thanks for reaching out about your robots.txt file. Below are our recommended directives for a robots.txt file: # START YOAST BLOCK # ----- User-agent: *
To seamlessly integrate Google AdSense ads into your WordPress site, it's recommended to use a dedicated ad management plugin. There are several plugins available, but one popular option is Ad.
Google Help. Help Center. Community. Announcements. Google AdSense. Please make sure to visit Your AdSense Page where you can find personalized information about your account to help you succeed with AdSense.
1. Manually Place Google AdSense Ad Code in WordPress. You'll start by clicking on the Ads menu in the left column and then switching to the 'By ad unit' tab. From here you need to click on 'Create New Ad'. You will be asked to choose an ad type. You can select from 'Display ads', 'In-feed ads', and 'In-article ads'.
2 How to Set Up Google AdSense Account. Now, let's start creating a Google AdSense account. To begin with, visit the Google AdSense website and click Get started. Next, sign in to your Google account. It's important to note that you can have only one Google AdSense account, but multiple sites can be approved for the same account.
Gallery of Using Google Adsense With Wordpress Google Adsense Approval Course :

How to Make Money with Google AdSense 10 Earning Tips 2023

15 Ways to Earn Money from Blog in 2020 Cash Overflow
How to Add Google AdSense to WordPress With Plugins amp Manually

4 Ways to Make Money With WordPress
How To Monetize Your WordPress Website Using Google Adsense

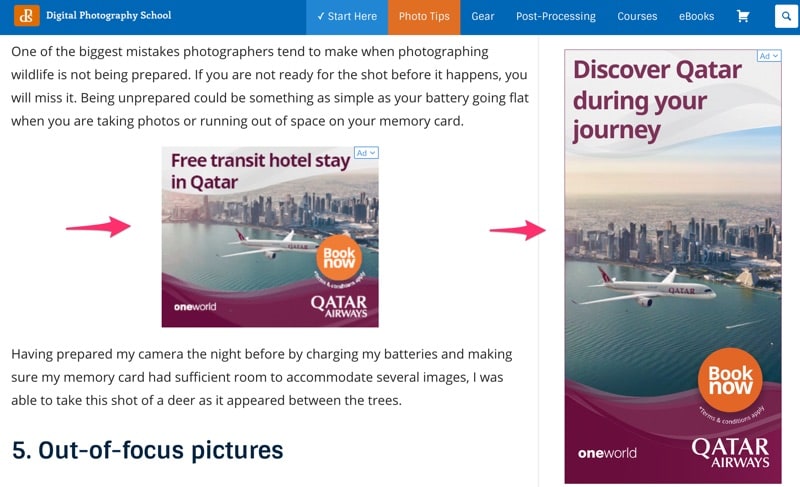
How Ad Sizes Affect AdSense Earnings Google Ad Sizes

AdSense An Introduction to Google s Ad Platform
How to Properly Add Google AdSense to Your WordPress Site
How To Add Google AdSense On WordPress Site In 2022
Can You Still Make Money With AdSense
How To Monetize Your WordPress Website Using Google Adsense
AdWords vs AdSense What s the Difference

What Is Google Adsense And How Can It Be Used On Your Website

Google AdSense and WordPress Websites Best Practices and Tips

How to Add Google AdSense to Your WordPress Site Bluehost Tutorials

3 Website Types That Earn the Most Money with Google AdSense
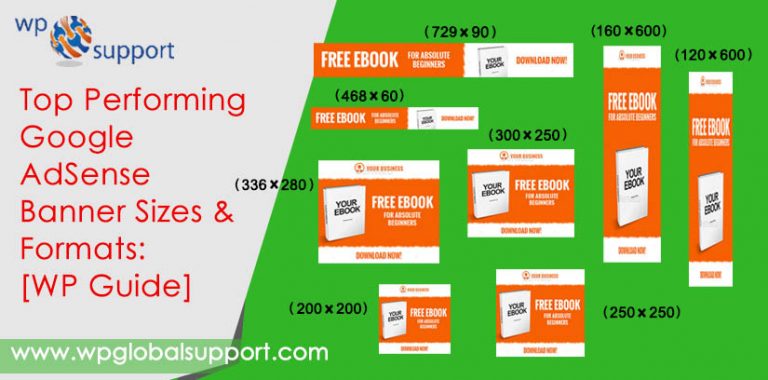
WordPress Google AdSense Banner Sizes amp Formats Best 10 Responsive Sites
2017 Edition to Understand the new Adsense

How To Easily Add Google Adsense To Your Wordpress Website Google

25 Best Free Google AdSense WordPress Themes of 2024
25 Best Free Google AdSense WordPress Themes of 2024

How to Use Google Adsense and Whether You Should

How to Add Google AdSense to Your WordPress Site Bluehost Tutorials

21 Google Adsense Fees How To Add Google Adsense Verification Code

5 Best Google Adsense WordPress Plugin Of 2024 Modern WP Themes
How to Get Google AdSense on WordPress The HostPapa Blog

3 Easy steps to Add Google AdSense in WordPress 2024
How to properly Add Google AdSense to your WordPress Site

10 Best Free Google AdSense WordPress Plugin 2022

How to earn money using Google Adsense YouTube
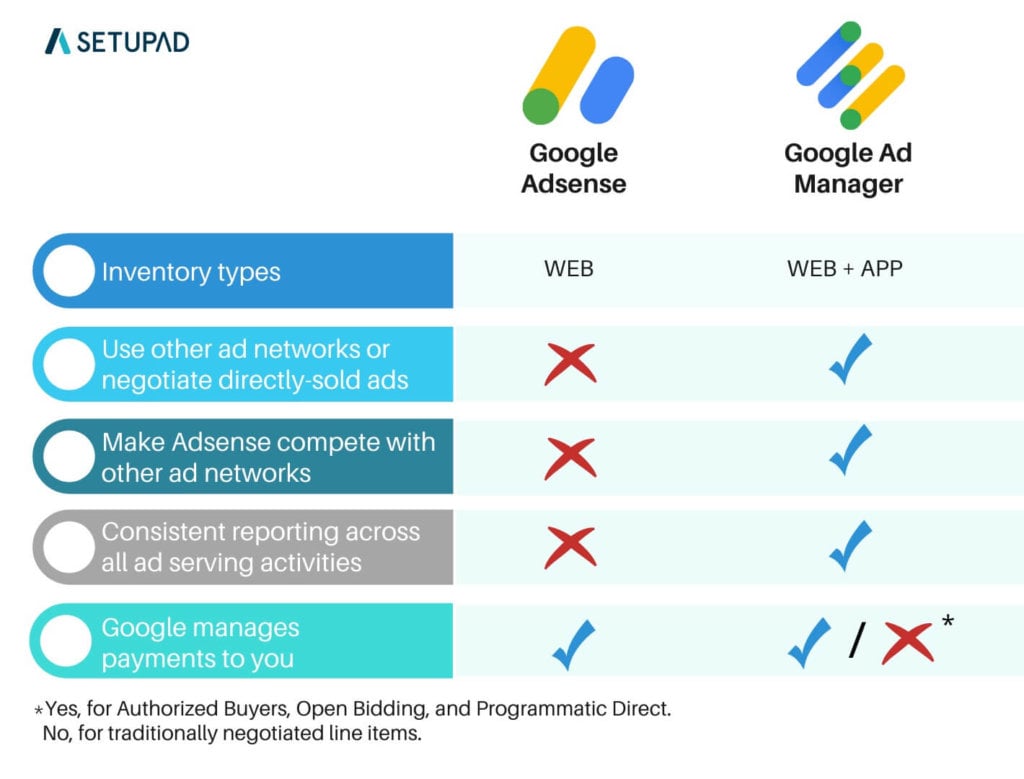
Google Ad Manager vs AdSense Complete Guide Setupad

Gli annunci automatici di AdSense Adsense
How to Add Google AdSense to WordPress
How to Properly Add Google Adsense to Your WordPress Blog

Advertising Program What Is Google Adsense HostAdvice
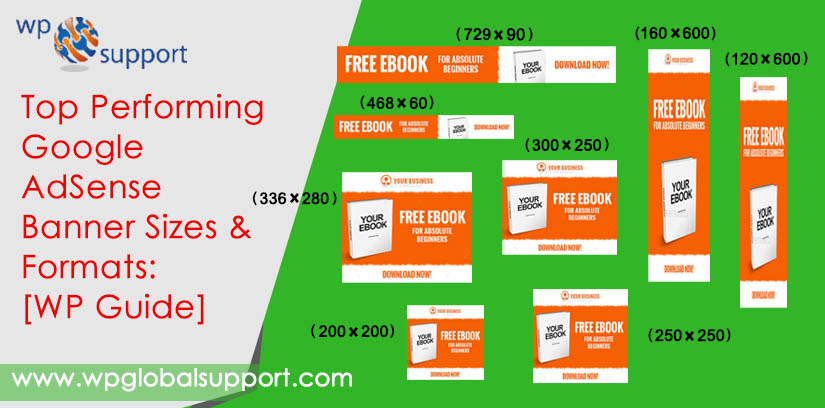
WordPress Google AdSense Banner Sizes amp Formats Best 10 Responsive Sites

17 Free Google Adsense WordPress Templates For 2020 Adsense Optimized

How to Link Wordpress Website to Google AdSense Wordpress AdSense
How To Log In To Google Adsense Account Accessing Your Ad Revenue Made
Google AdSense Apa Itu Cara Kerja Keunggulan Pertanyaan Umumnya

How to earn money with Google Using Google AdSense to sell by Jan

How To Make Money Using Google AdSense

TravelMarx

Best and Easy Method for Adding Google AdSense to Your WordPress Site

Google Adsense For WordPress How To Add Adsense To WordPress YouTube

6 Best WordPress Plugins for AdSense to Increase Your Earnings

Google Adsense for WordPress YouTube

Best and Easy Method for Adding Google AdSense to Your WordPress Site
Google Adsense For WordPress How To Add Adsense To WordPress YouTube
6 Best WordPress Plugins for AdSense to Increase Your Earnings
Google Adsense for WordPress YouTube
Best and Easy Method for Adding Google AdSense to Your WordPress Site

How To Make Money Using Google AdSense Pishon Design Studio
Google Adsense l 224 g 236 C 225 ch ki m ti n online v i Google Adsense

What is Google AdSense Google AdSense Explained in 5 Minutes YouTube
Google AdSense Approved Websites Boss Funnel
How to Make Money Online Earn Extra Income from your Website using

How to Add Google AdSense to WordPress Visualmodo Blog

Earnings Dashboard for Google Adsense Wordpress Plugin YouTube
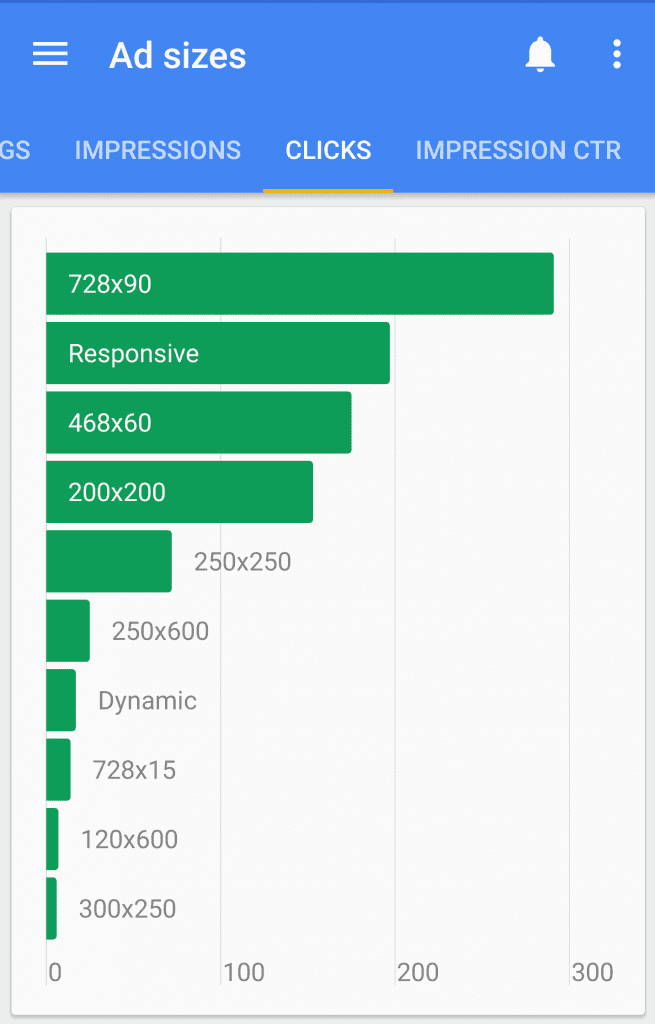
What Google Adsense Size Works Best for Revenue SEO Alien
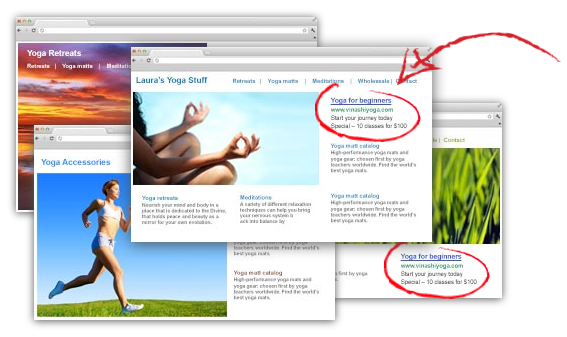
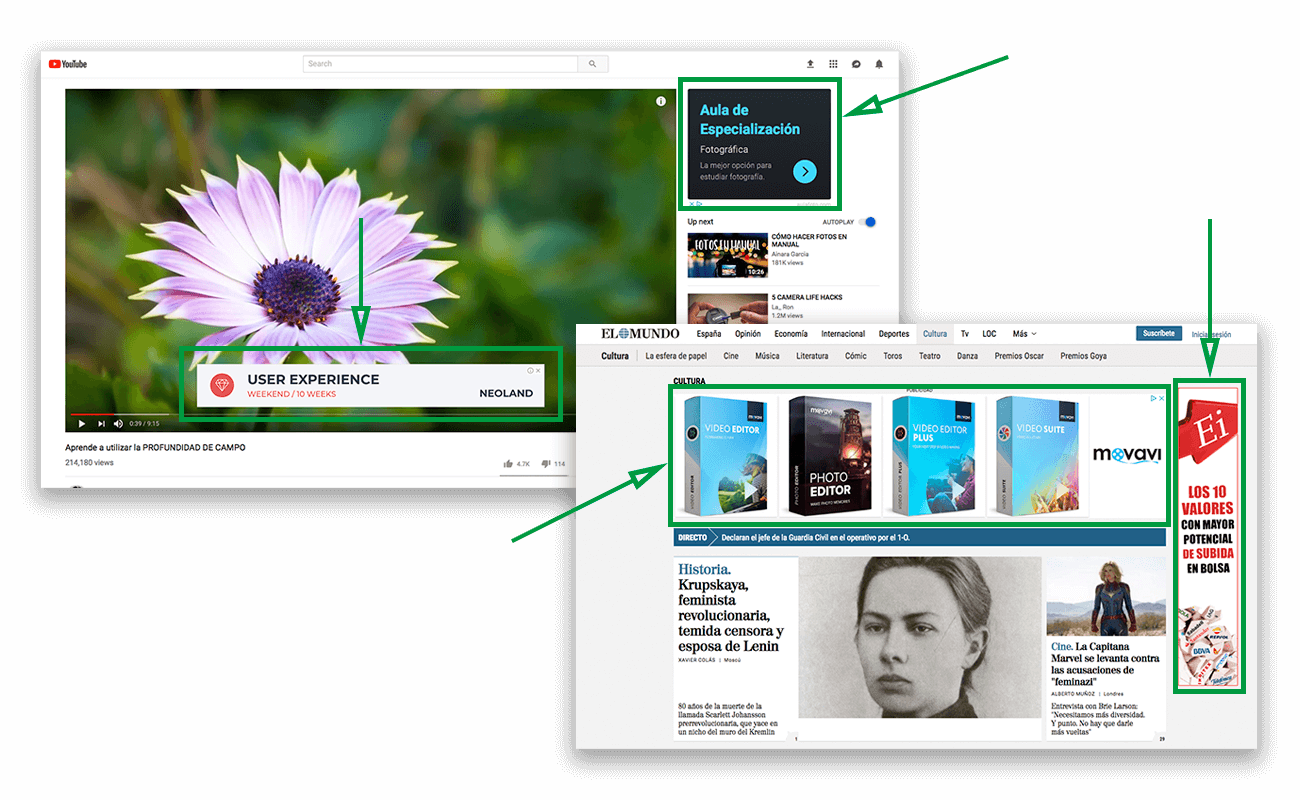
6 Types of Adsense Ads and What They re Good For
What is Google AdSense and How to Monetize Your Hobbies Kolau Blog

The Adsense Business Model Explained Empire Flippers
What is Google AdSense and How to Monetize Your Hobbies Kolau Blog

The Adsense Business Model Explained Empire Flippers

Google Adsense How to Earn 40 000 24 Lac Rs in a year
6 Types of Adsense Ads and What They re Good For

How to Set up Google Adsense in WordPress WPHowTo

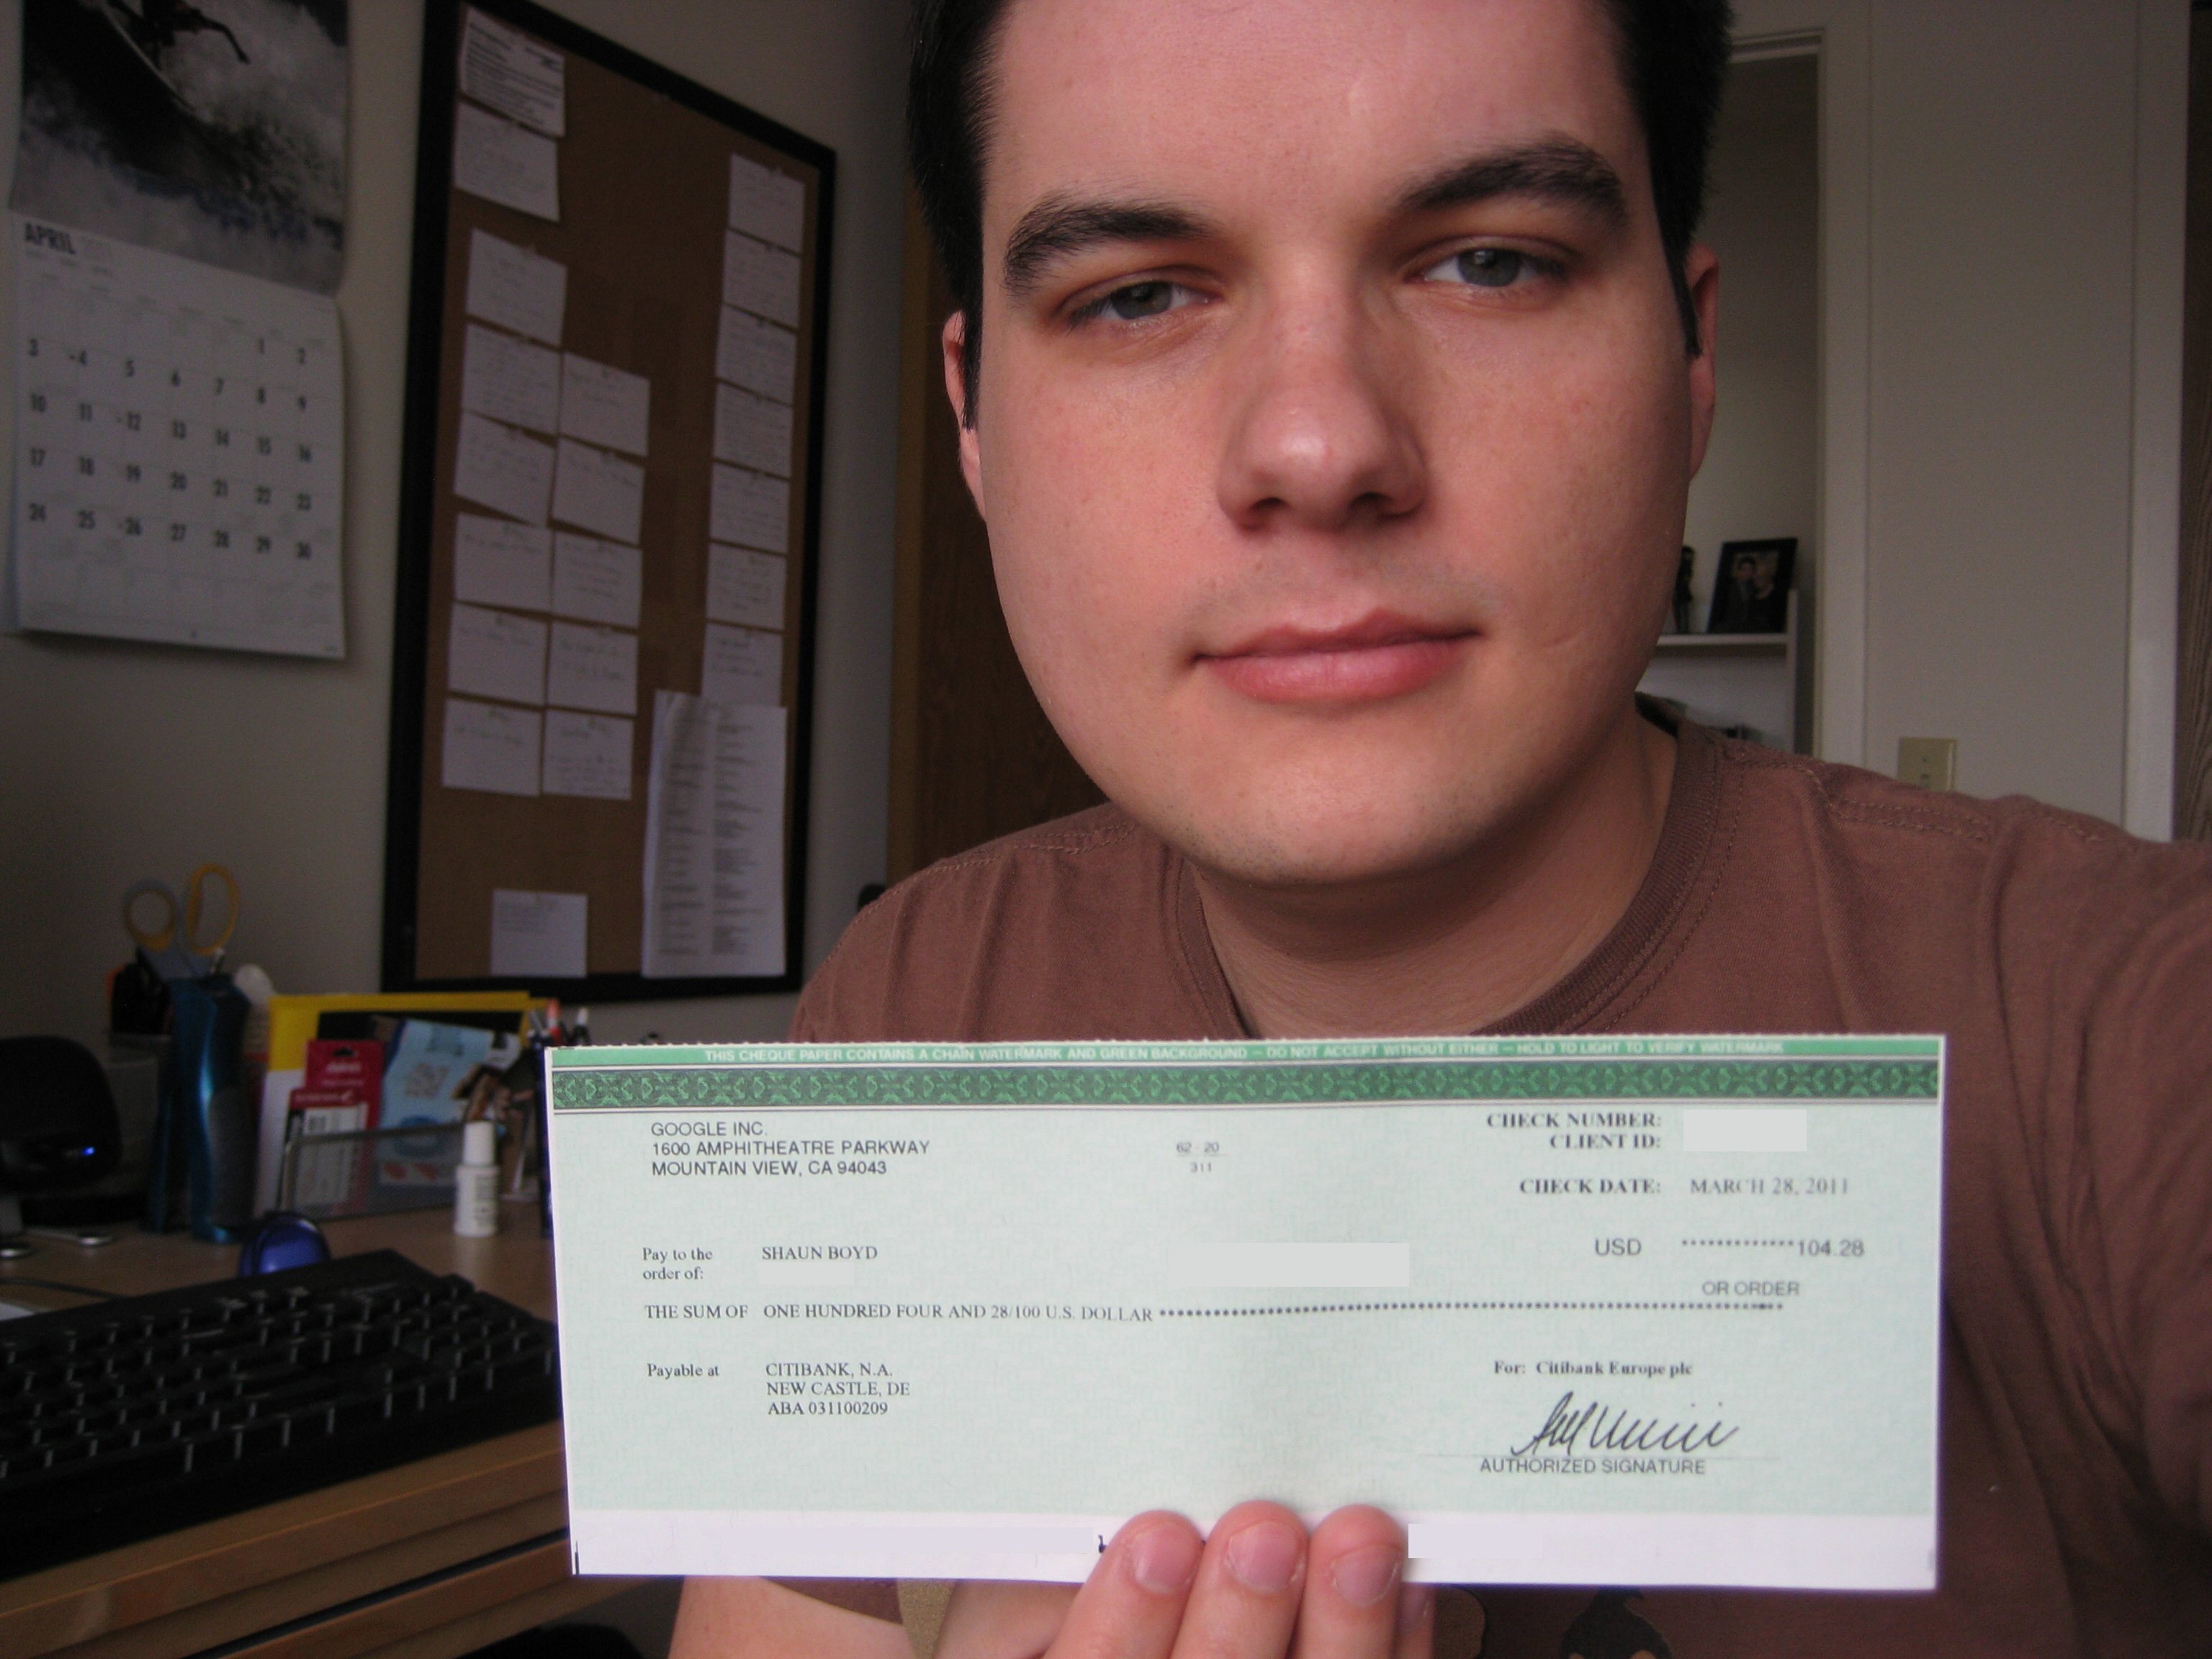
Google Adsense Ad Network Reviews amp Payment Proof Latest 2020

Saldo Google Adsense Difference Between Google Adsense And Google
Adding Google AdSense To Your Wordpress Site Just Got Easier With

Google Adsense Business Model How High Paying Niches Google Adsense

5 of the Highest Earning AdSense Layouts for Blogs
Using Google Adsense With Wordpress Google Adsense Approval Course - The pictures related to be able to Using Google Adsense With Wordpress Google Adsense Approval Course in the following paragraphs, hopefully they will can be useful and will increase your knowledge. Appreciate you for making the effort to be able to visit our website and even read our articles. Cya ~.